LIKE EATING CLOUDS!
· Spanish version below ·
Hi there!
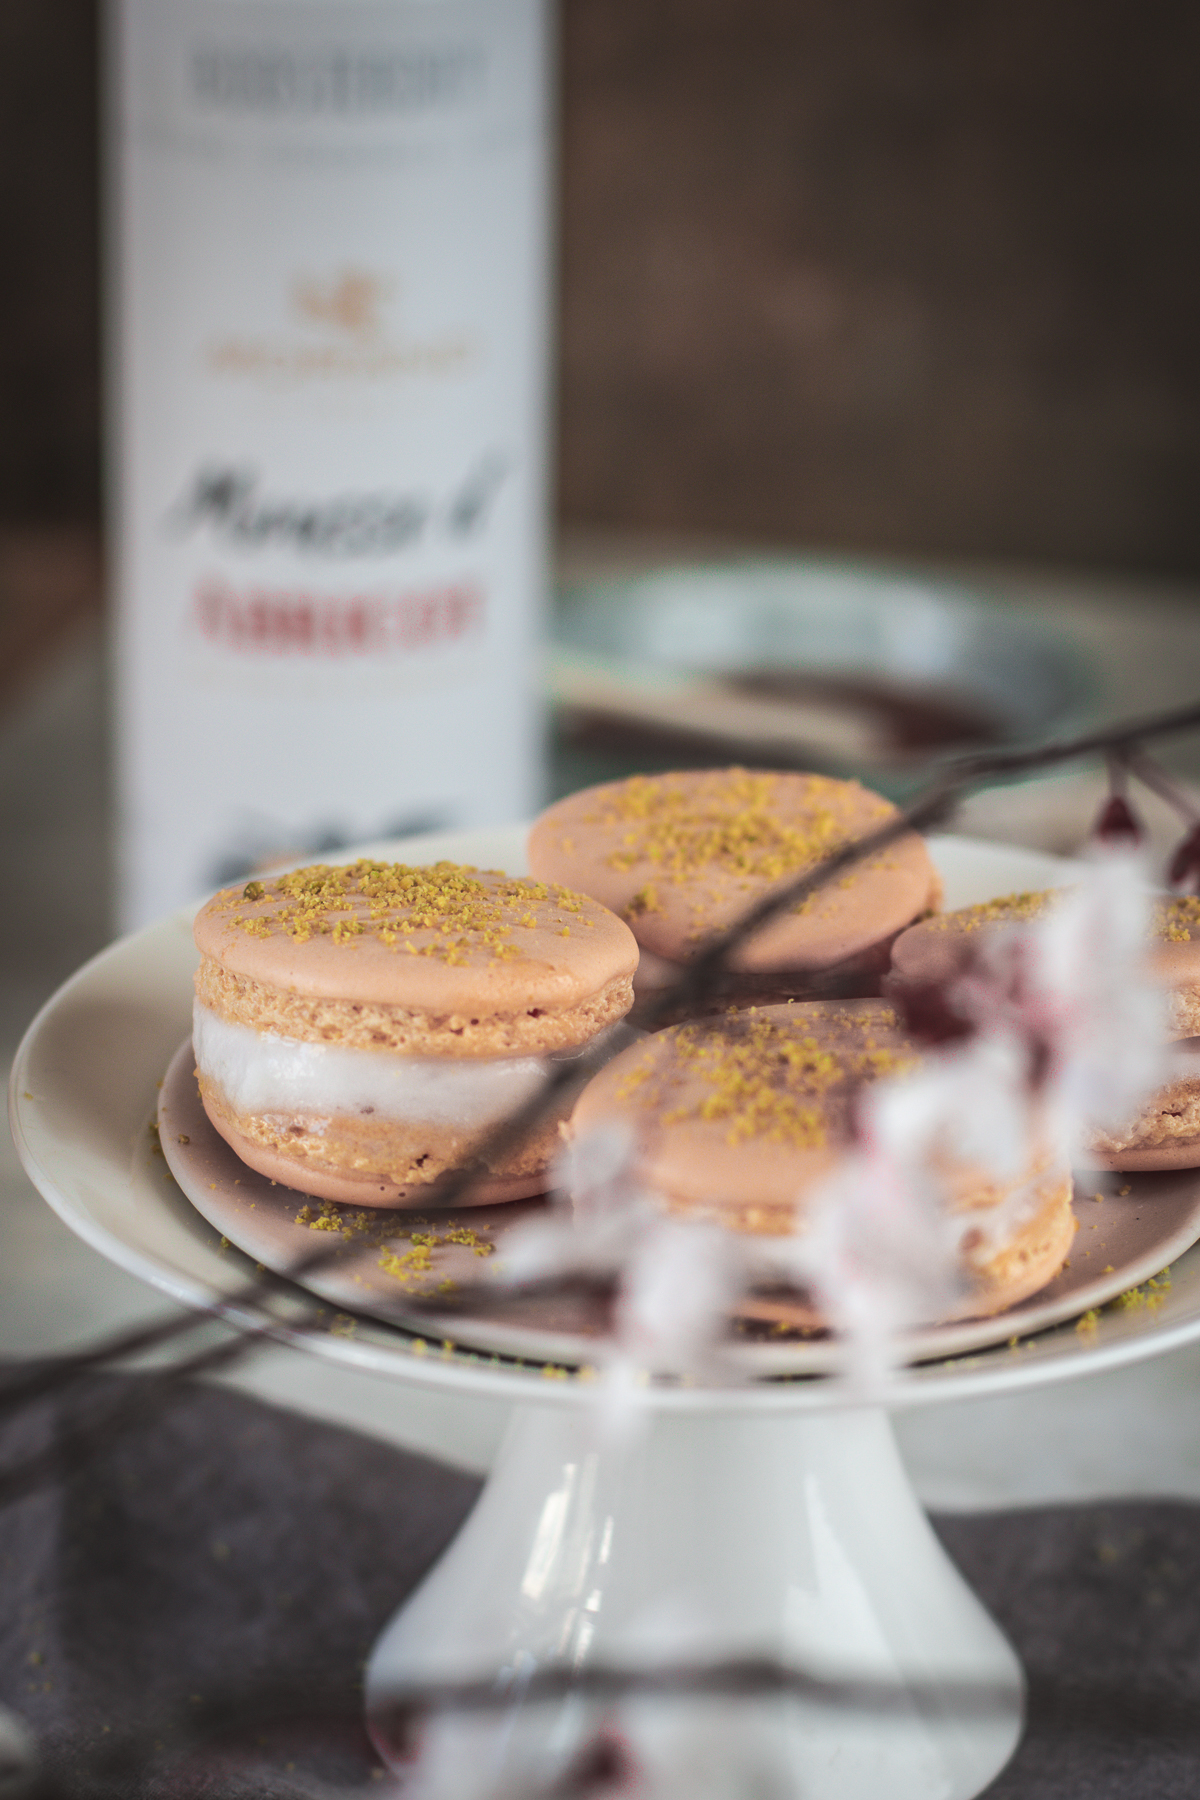
Happy Sunday, friends! Maybe you didn’t know that I enjoy taking risks and today I was feeling a little crazy. So I decided to bake a challenging classic: Monsieur le Macaron. It has been a couple of years that I haven’t baked them!
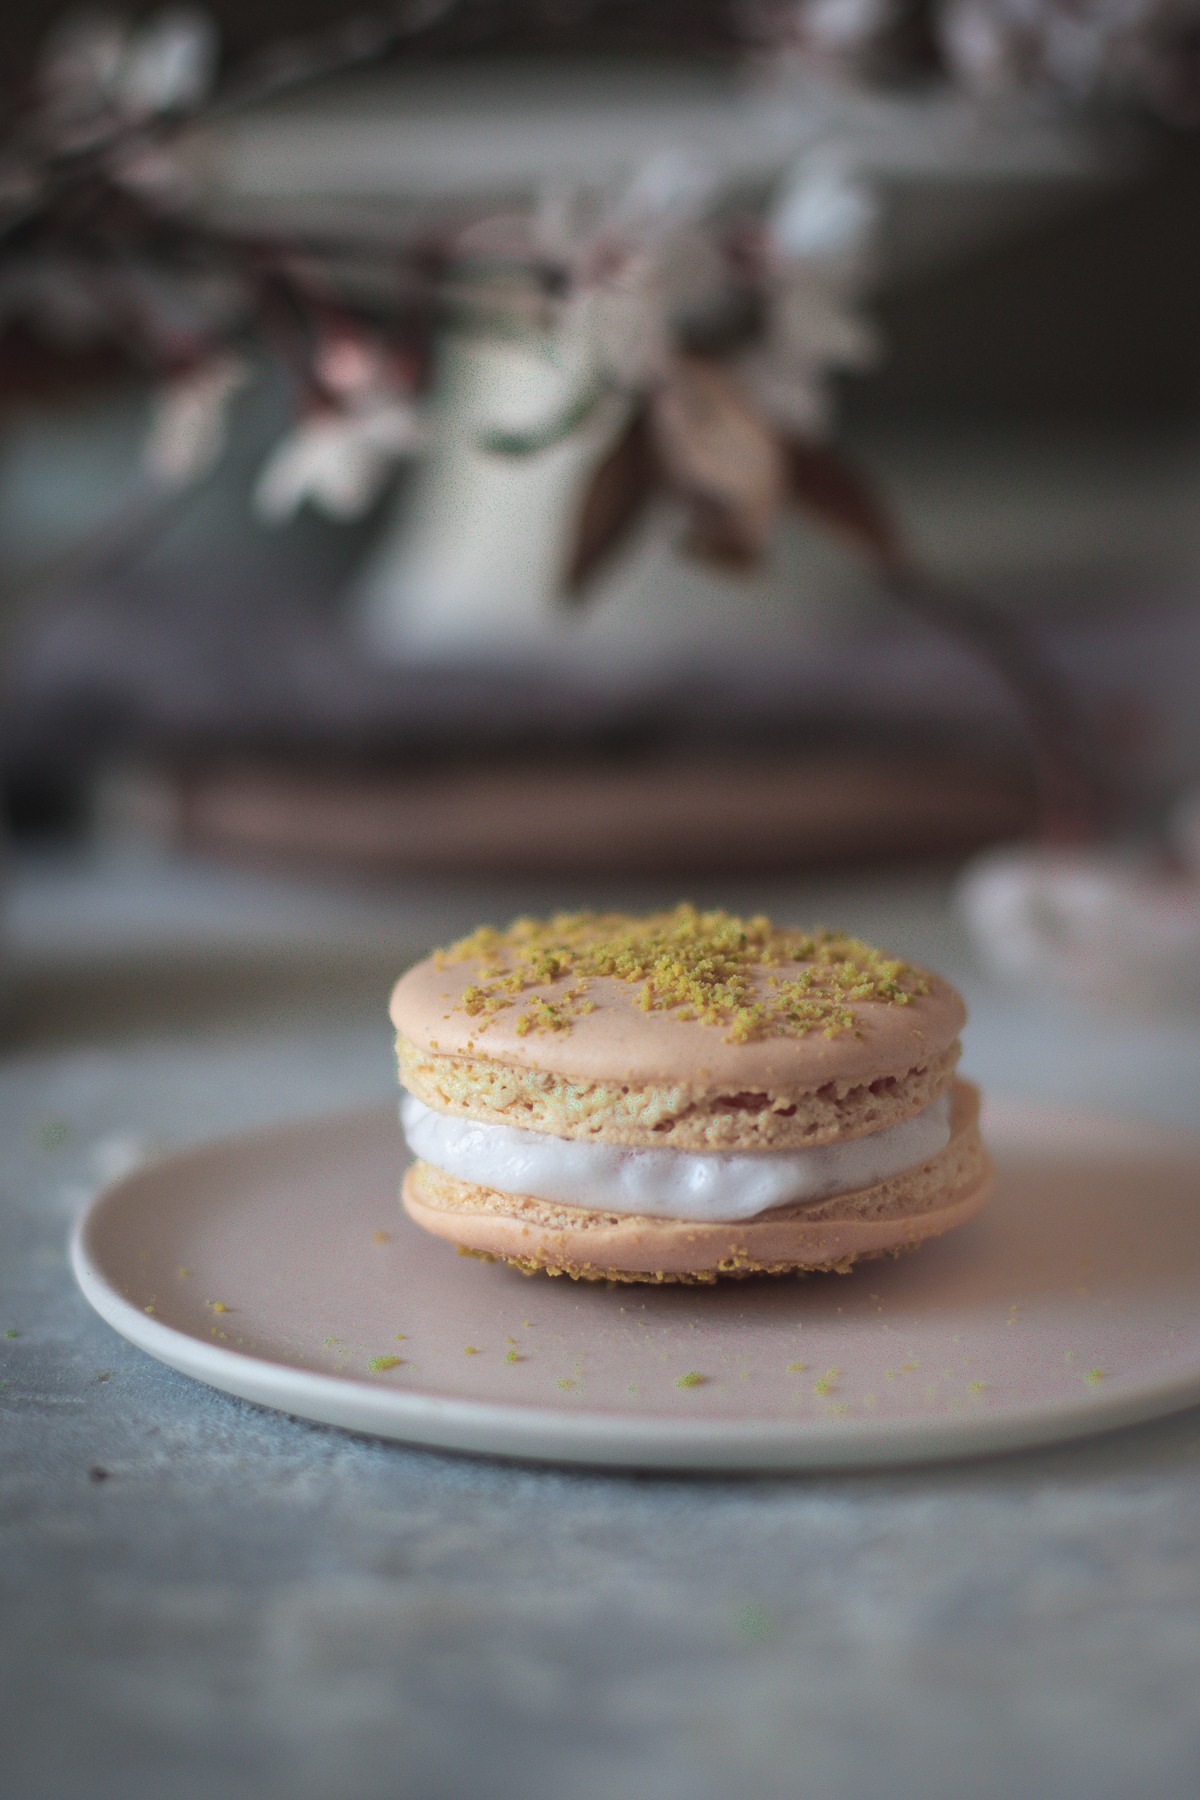
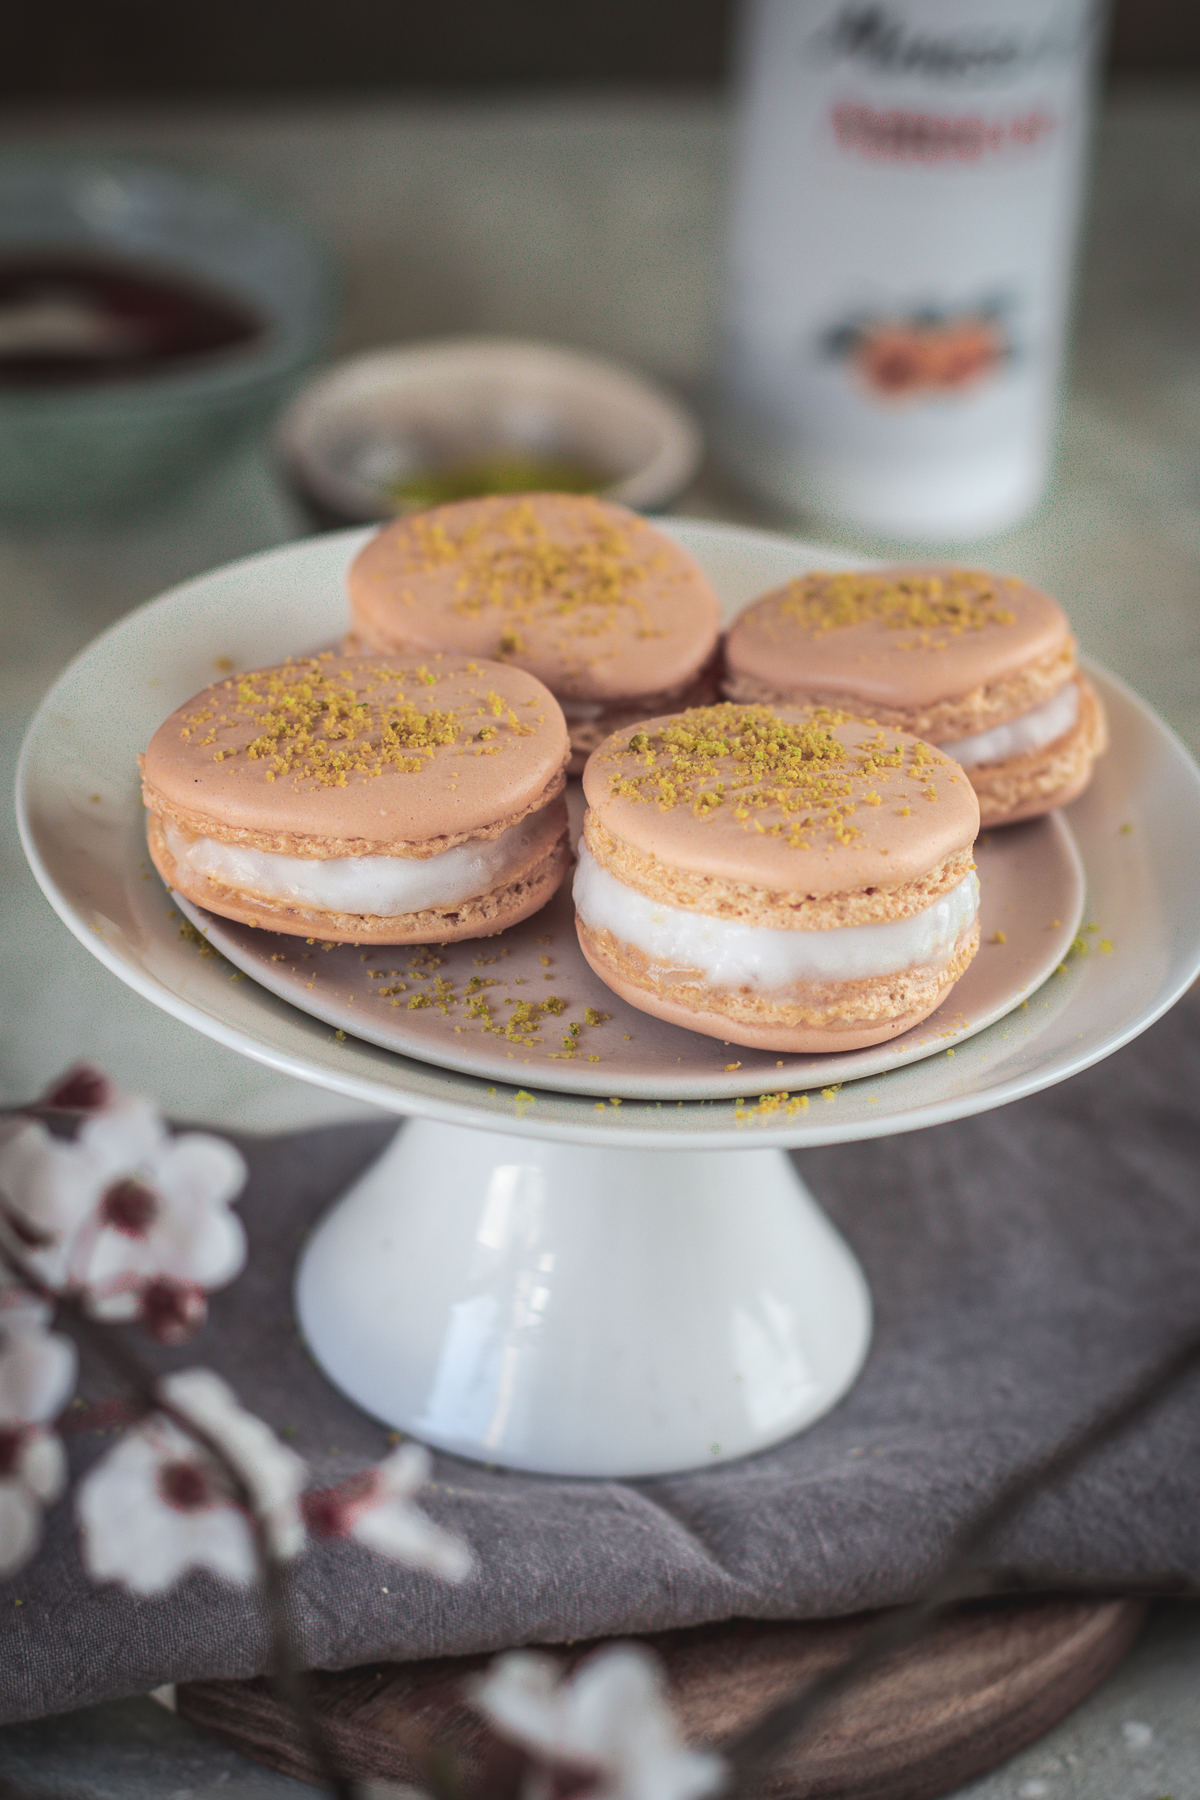
Luckily I crossed paths with the elegant Swiss distillery @distilleriemorand Among many other great products, #morand crafts an Apricot Brandy Mousse that seemed perfect to fill my macarons, together with a heart of apricot curd and sprinkled with pistachio powder to pop up the nutty flavors. It is like eating clouds!
Hope this encourage you to become creative and give it a try!
Ingredients (Yield 40 shells) /
Apricot jelly/
Apricots 220 g
Sugar 180 g
Sea salt 1/2 tsp
Pectina 1/2 Tsp
Macaron Shells/
Almond powder 120 g
Powdered sugar 200 g
Egg whites, at room temperature 120 g
Sugar 110 g
A few drops of yellow and red gel food colouring
Vanilla bean paste 1 tsp
Pistacchio powder 30 g
Process/
For the apricot jelly, combine the uncored apricots and sugar and leave rest in the fridge for at least 2 hours. In a saucepan add the fruit and sugar mix with the remainder of the ingredients, and place over medium heat. Whisk well to combine. Place over medium low heat, and cook for 50 minutes, stirring frequently, until the jelly has thickened significantly. This step can be dismissed if you prefer to get it from the market, just make sure it is a good quality one!
For the macaron shells, preheat oven to 150˚c, and position the oven rack in the centre of the oven. Using a 3,5 cm in diameter) round cookie cutter or the base of a large piping tip draw a "template" for your macarons on a piece of parchment paper, leaving about 5 cm between each circle.
In a blender, combine the almond powder and powdered sugar together and mix it to get a as finest as possible powder. Otherwise you can sift the mixture twice, to ensure there are no large lumps and that the mixture is properly aerated. Set aside.
In the bowl of a stand mixer fitted with the whisk attachment, whip the egg whites on medium speed until foamy. Gradually add the sugar, increase the mixer speed, and whip on high until the meringue starts to firm up. Carefully add a few drops of food colorant, one color at a time (I would say to add more yellow than red drops, if you want a peachy color as a result) until the desired colour is reached. Add vanilla and mix until incorporated. Continue to whip until the meringue forms stiff peaks (you can check in my Highlighted Instagram stories here)
Remove the bowl from the mixer. Add one third of the ground almond and powdered sugar mixture, and fold into the meringue (without mixing). You want to deflate the meringue just a little at this stage, to combine the meringue and ground almond mixture.
Add a second third ground almond mixture, and stir lightly to combine. Now comes the challenging part - mixing the batter to the correct consistency. Fold the mixture in a series of 'turns', deflating the batter by spreading it against the side of the bowl. Add the rest of the almond and sugar mixture. Turn the bowl slightly and repeat the movement - scooping the batter from the bottom of the bowl, and spreading it against the side. Continuously check the consistency of the batter - you want it to flow like lava when you lift the spatula from the bowl, and you should be able to 'draw' a figure 8 with it, without the batter breaking. This step can take some practice until you know what it should feel and look like. If in doubt you are better to under mix them than over mix them. I watched lots of videos to get an idea of this technique! They are very helpful!
Fill a large pastry bag with a medium sized round tip. Place the macaron template on a sheet pan, and place a second piece of parchment over it. Holding the piping bag at a 90˚ angle to the surface, pipe out the batter into blobs the size of the circles drawn on the template. Finish off each piped circle with a little "flick" of your wrist to minimise the batter forming a point or nipple.
Hold the baking sheet in two hands, and carefully but firmly, evenly bang it against the bench. Repeat this a few more times - this will get rid of any air bubbles, remove points on the top, and help them to spread out slightly.
Repeat the piping and banging process until you have used up all of the batter.
Allow the macarons to dry at room temperature for approximately 30 minutes, or until they form a skin that you can touch without your finger sticking to them. This time will drastically vary depending on the humidity (the more humid is the ambience the longer they need to rest)
About fifteen minutes before you are going to bake the macarons, place a spare sheet pan in the oven to preheat - this is going to be used to place under the pan with the macarons on it, to double up, which should help with even baking. Bake the macarons one sheet at a time - place the sheet with the macarons on the preheated sheet, and place in the oven.
Bake for approximately 18 minutes, rotating the pan once during the cooking process, and checking for doneness after 15 minutes. The macarons should develop a foot (the ruffled part on the bottom of the macaron), and bake without browning. To see if they are done - press down lightly on a shell. If the foot gives way, it needs a little longer, if it is stable, then it is close to being done. Test a macaron shell - if you can peel it away cleanly from the paper, they are done. If they are stable but cannot yet peel away cleanly, give them another minute or so. Again, this part takes a little trial and error depending on your oven. If they seem done but do not peel away cleanly, do not worry! You can place them into the freezer for 5-10 minutes, then peel away from the paper.
Remove from the oven, and allow to cool on the sheet pan for 10 minutes before peeling off the parchment paper and allowing to cool completely on a wire rack. Repeat the baking with the remaining trays, using the same spare sheet pan to double up.
Store cooled macarons in an airtight container until ready to use.
Assemble/
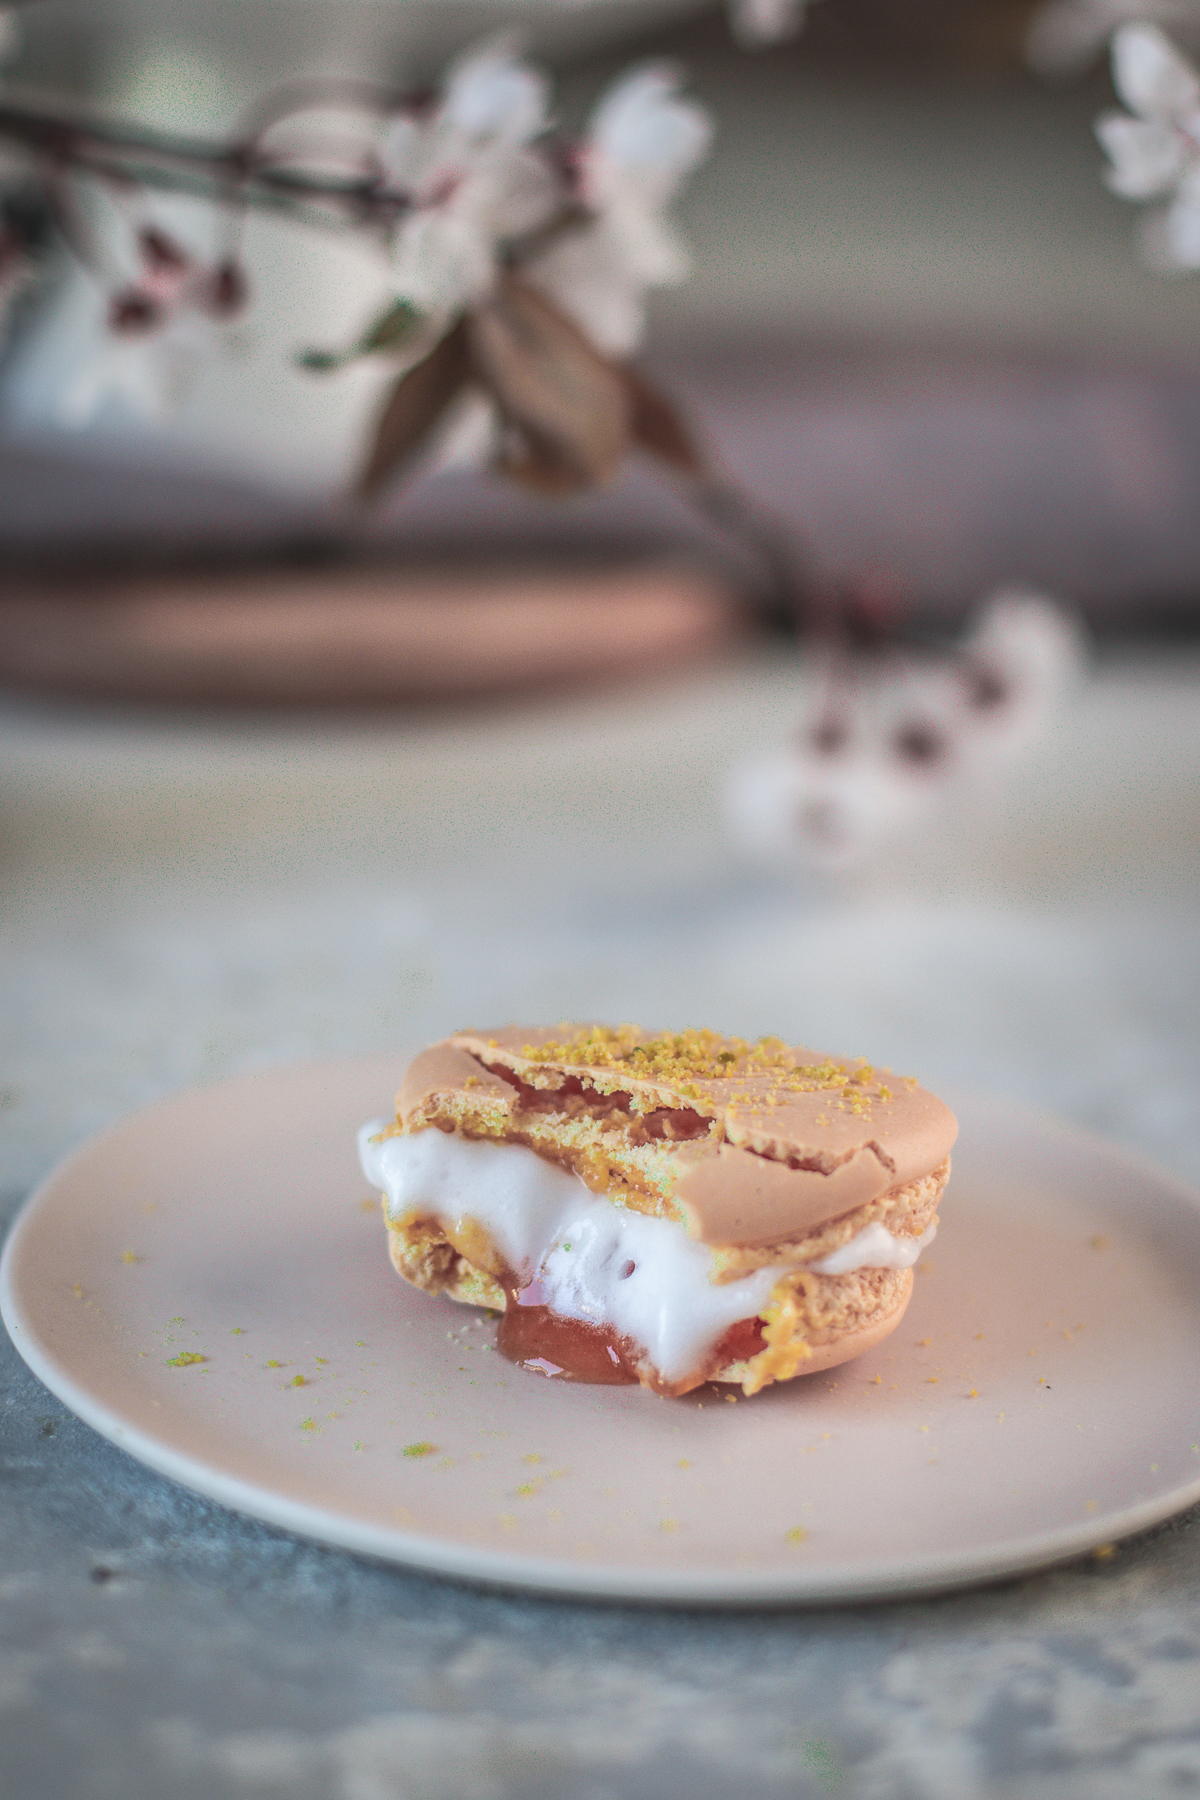
Pipe a macaron shell with apricot jelly, just a 1/2 tsp in the centre. Shake your apricot mousse and holding the bottle at a 90˚ angle to the surface, pour around the jelly. Place a second shell on top. Process the same manner to all the shells, you might have 20-25 macarons in total.
Voilà! I hope this recipe encourage you to try, even though is a high risk recipe, it might take several attempts until you get a perfect one, yet it worth it!
__
Hola!
¡Feliz domingo! Tal vez no lo sabían pero me encanta correr riesgos, soy muy curiosa y disfruto bastante atravesar nuevos desafíos. Así que hoy decidí hornear un clásico que da temor: Monsieur le Macaron. ¡Hace un par de años que no los preparaba!
Por suerte me crucé con la elegante y tradicional destilería suiza @distilleriemorand
Entre otros grandes productos, #Morand elabora una Mousse de Brandy de Damascos que parecía perfecta para llenar mis macarrones, junto con un corazón de confitura de damascos, espolvoreado con pistacho en polvo para hacer estallar los sabores a nuez. Es como comer nubes!
Espero que esto te anime a ser creativo y a intentar tu propia version, Si bien la receta tiene técnica, es divertido y desafiante al mismo tiempo!
Ingredientes (Rinde 40 macarons) /
Gelée de damascos/
Damascos 220 g
Azúcar 180 g
Sal marina 1/4 cucharadita
Pectina 1/2 cucharada
Macarons/
Polvo de almendras 120 g
Azúcar en polvo (impalpable o procesada en casa) 200 g
Claras de huevo, a temperatura ambiente 120 g
Azúcar 110 g
Unas gotas de colorante alimentario en gel amarillo y rojo
Pasta de vainilla asta 1 cucharadita
Pistacchio en polvo 30 g
Procedimiento/
Para la gelée de damascos, mezclar los damascos sin corazón y el azúcar, dejar reposar en el refrigerador durante al menos 2 horas. En una cacerola agregar la fruta y el azúcar, mezclar con el resto de los ingredientes y colocare a fuego medio. Batir bien para evitar que se pegue en el fondo de la cacerola. Llevar a fuego medio bajo y cocinar por 50 minutos, revolviendo frecuentemente, hasta que la jalea se haya espesado significativamente. Este paso puede ser descartado si prefieres conseguirlo en el mercado, ¡sólo asegurate de que sea de buena calidad!
Para los macarons, precalentar el horno a 150˚c, y colocar la rejilla del horno en el centro del mismo. Usando un cortante de galletas redondo de 3,5 cm de diámetro o la base de una punta de tubería grande, dibujar una "plantilla" para tus macarons en un trozo de papel de horno, dejando unos 5 cm entre cada círculo.
En una licuadora, mezclar el polvo de almendra y el azúcar en polvo y mixear hasta obtener un polvo lo más fino posible. De lo contrario, se puede tamizar la mezcla dos veces, para asegurarse de que no haya grumos grandes y de que la mezcla esté bien aireada. Dejar a un lado.
En el bol de una batidora de pie con el accesorio de batidor, batir las claras de huevo a velocidad media hasta que queden espumosas. Agregar gradualmente el azúcar, aumentar la velocidad de la batidora y batir a velocidad alto hasta que el merengue empiece a endurecerse. Añadir cuidadosamente unas cuantas gotas de colorante de alimentos, un color a la vez (yo diría que agregues más gotas amarillas que rojas, si se desea un color durazno como resultado) hasta que se alcance el color deseado. Agregar la vainilla y mezclar hasta que este bien incorporado. Continuar batiendo hasta que el merengue forme picos rígidos (podes ver mis historias destacadas de Instagram aquí).
Retirar el recipiente de la batidora. Añadir un tercio de la mezcla de almendras molidas y azúcar en polvo, e incorporar al merengue (sin mezclar). En esta fase se desea desinflar un poco el merengue, para combinar el merengue con la mezcla de almendras molidas.
Agregar una segunda tercio de la mezcla de almendras molidas y revolver ligeramente para combinar. Ahora viene la parte desafiante - mezclar la masa hasta llegar a la consistencia correcta. “Doblar” la mezcla en una serie de "vueltas", desinflando la masa extendiéndola contra las paredes del recipiente. Añadir el resto de la mezcla de almendras y azúcar. Girar ligeramente el bowl y repetir el movimiento: sacar la masa del fondo del bowl y extenderla contra el las paredes del bowl. Comprobar continuamente la consistencia de la masa - debe fluir como la lava cuando levantes la espátula del recipiente, y deberías ser capaz de `dibujar' una figura 8 con ella, sin que se rompa la masa. Este paso puede tomar algo de práctica hasta que sepas cómo debe sentirse y verse. En caso de duda, es mejor no mezclarlas lo suficiente que mezclarlas demasiado. He visto muchos videos para tener una idea de esta técnica! Son muy útiles!
Llenar una manga de pastelería con una boquilla redonda de tamaño mediano. Colocar la plantilla de macaron en una bandeja y colocar un segundo trozo de papel de horno sobre ella. Sosteniendo la manga de pastelería en un ángulo 90º con respecto a la superficie, presionar suavemente hasta lograr gotas del tamaño de los círculos dibujados en la plantilla. Terminar cada círculo con un pequeño "quiebre" de la muñeca para reducir al mínimo que en la masa quede un punto o pezón.
Sostener la bandeja para hornear con las dos manos y, con cuidado pero con firmeza, golpearla uniformemente contra una superficie dura y lisa. Repetir esto unas cuantas veces más - esto eliminará las burbujas de aire, eliminará los puntos en la parte superior, y les ayudará a extenderse un poco.
Repetir el proceso de llenado y golpeado hasta que haya agotado toda la masa.
Dejar que los macarons se sequen a temperatura ambiente durante aproximadamente 30 minutos, o hasta que formen una piel que se pueda tocar sin que el dedo se pegue a ellos. Este tiempo variará drásticamente dependiendo de la humedad (cuanto más húmedo sea el ambiente, más tiempo necesitarán para reposar).
Unos quince minutos antes de hornear los macarons, colocar una bandeja de repuesto en el horno para precalentar - esto se va a utilizar para colocar debajo de la bandeja con los macarons encima, lo que debería ayudar a hornear incluso. Hornear los macarons tanda por tanda - colocar el papel con los macarrones sobre el papel recalentado y colocar en el horno.
Hornear durante aproximadamente 18 minutos, girando la bandeja una vez durante el proceso de cocción y comprobando que esté bien cocida después de 15 minutos. Los macarons deben desarrollar un “sombrero” en la parte superior y hornear sin dorar. Para ver si están listos, presionar ligeramente sobre una cáscara. Si el sombrero cede, necesita un poco más de tiempo, si es estable, entonces está cerca de ser hecho. Probar una cáscara de macaron - si se puede despegar limpiamente del papel, ya está listo. Si son estables pero aún no pueden despegarse limpiamente, dales un minuto más o menos. Una vez más, esta parte toma un poco de prueba y error dependiendo de tu horno. Si parecen hechos, pero no se despegan limpiamente, ¡no te preocupes! Pueden colocarse en el congelador durante 5-10 minutos y luego despegarlos del papel.
Retirar del horno y dejar enfriar en la bandeja durante 10 minutos antes de despegar el papel de horno y deje que se enfríe por completo en una rejilla de alambre. Repetir el horneado con las bandejas restantes, usando la misma bandeja de repuesto para doblar la plantilla.
Almacenar los macarons refrigerados en un recipiente hermético hasta que estén listos para su uso.
Ensamble/
Poner una cáscara de macaron con gelée de damascos, sólo una cucharadita en el centro. Agitar el envase de mousse de damascos y sosteniendo la botella en un ángulo de 90º con respecto a la superficie, verter alrededor de la gelée. Colocar una segunda cáscara en la parte superior. Proceder de la misma manera para todas las cáscaras, es posible que salgan 20-25 macarons en total.
¡Voilà! Espero que esta receta te anime a probar, aunque es una receta de alto riesgo, puede tomar varios intentos hasta que consigas una perfecta, ¡siempre vale la pena!